Resistance Bands: How to Use Them Effectively
Add resistance bands to your training and learn to use them effectively
Resistance bands are known as workout bands or exercise bands. They’re used during training to build strength and increase flexibility. They can be beneficial whether you’re training for a triathlon or want another form of cross-training. They come in various lengths and different thicknesses. The two most common shapes you’ll encounter are flat and tubular-shaped resistance bands. The difference in shape and size helps people build strength in different areas of the body. Learn about the different types of bands. There are also a few exercises to get you started. They’re so easy you could complete them during your lunch break like these exercises.
Types of resistance bands
Therapy bands
Therapy bands are beneficial and have many uses.
Resistance bands were first used in physical therapy and rehabilitation. They still are, even though they’re now used in various ways during a workout. With a flat surface and no handles, therapy bands can be gentle on the body unless they bunch up and pinch the skin. They can be cut and tied together to create different lengths or used as one long piece.
Compact resistance bands
These tubular bands have two plastic handles and are typically longer than other bands. The additional length makes these bands ideal for upper- and lower-body workouts. The ability to strengthen most of the body makes these bands ideal for reaping the many benefits of cross-training.
Ring resistance bands
A small, tube-shaped ring with two soft handles on either side. It’s best used when working with the lower body.
Figure 8 bands
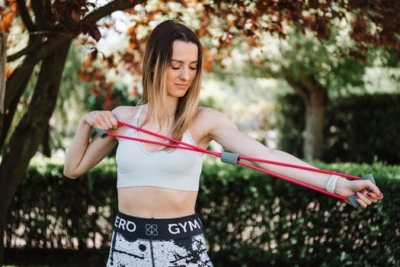
Figure 8 bands are good for strengthening the upper body.
These resistance bands come with two plastic handles that intertwine around each, giving the appearance of a figure 8. They’re shorter than other bands, making them a great tool for upper body strengthening.
Fit loop bands
These are also known as mini bands. Similar to therapy bands, they are a flat, continuous loop. However, they come as one piece and are not tied together. Use these during training to help you target specific muscles groups like the hips and glutes and improve your run performance.
Lateral resistance bands
Unlike the other bands with handles, lateral bands have velcro cuffs on either end. The cuffs can wrap around the ankle or the wrist, depending on the exercise. Best used with lower body workouts, strengthening the hips and thighs.
3 exercises to add to your training
Lateral band walk
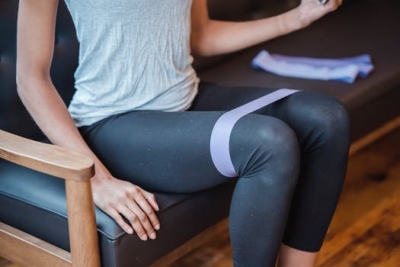
You can place the band above your knees for many lower body exercises.
Depending on the strength of the band, you can place it around your ankles and above your knees. Start with your feet shoulder-length apart. Extend your right leg out, place it on the ground, follow with your left leg. Repeat 10 steps to your right, then come back to the left. Best when using therapy bands (if tied together), fit loop bands, or lateral resistance bands.
Bicep curls
Hold the end of a band in either hand and put the other end underneath each foot. Lower your arms until they’re straight, then bend your elbows and raise your fists up. Repeat this for 10 reps. Best when using therapy or compact resistance bands.
Flutter kicks
This is a great core exercise. Lay down on your back on the ground or on a bench. Place your hands by your side or under your butt. Put a band around your ankles. Raise your feet a few inches off the ground, alternate kicking each foot 6-8 inches into the air. Repeat this for 10 reps with each leg. Best when using therapy bands (if tied together), fit loop bands, or lateral resistance bands.
There’s no doubt you strengthen your body by swimming, cycling, and running. But working seldom-used muscle groups with resistance bands is just as important. It’ll allow other muscle groups the chance to recover as well. If you want to build a healthy physique with tone muscles, then resistance training could be exactly what you’re looking for.