6 Best Places to Train in Austin
Here is a list of what we think are the 6 best places to train in Austin. We broke them down by favorite spots to swim, bike, and run. These are great for all levels of triathletes.
Swim
1.Big Stacy
Tucked back in one of Austin’s oldest neighborhoods, this pool has been keeping Austinites of all ages cool and entertained since the 1930s. The best part is it is free to use year-round, with the added bonus of being heated during the winter months. There are a limited number of lanes so be prepared to share or come during non-peak hours.

2.Barton Springs Pool
Constructed in 1940, it has been a summer staple for many years and is known for being Austin’s no. 1 natural pool. It’s easy to see why. The 3-acre, spring-fed pool remains 68°F degrees year-round, making it a refreshing way to shake the heat. It is also a great way to practice open water swimming and swimming in a wetsuit. Get there as early as 5 am on weekdays to swim without the crowds.
Bike

1. South Walnut Creek Trail
The Southern Walnut Creek Trail is Austin’s first Urban Trail. Not a car in sight! The trail is open for public use and begins at Govalle Park and ends in the vicinity of Johnny Morris Road and Daffen Lane. The trail is approximately 7.3 miles in length and consists of a 10′ wide concrete trail with 2′ shoulders. There are several creek crossings and trailheads on the trail. The lush surroundings can make seeing around corners difficult at times so this is not a great place for a speed workout.
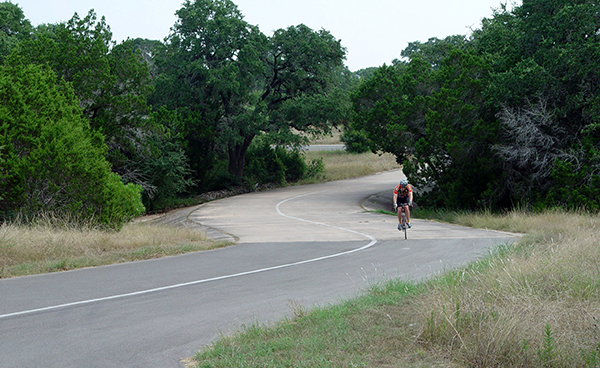 2. Veloway
The Veloway at Circle C Ranch Metropolitan Park was constructed in the early ’90s and was the first facility of its kind in the United States. The Veloway is a 23’ wide, 3.1 miles (5K) long bicycle tract that traverses the natural terrain. People travel from all over the metropolitan region to cycle here on a daily basis. This path is great because it is for cycling and inline skating only. Still, be on the lookout for the rogue walker or slower cyclist, slower traffic keep to the right and always pass on the left.
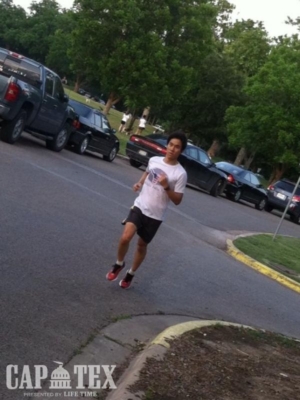
Run
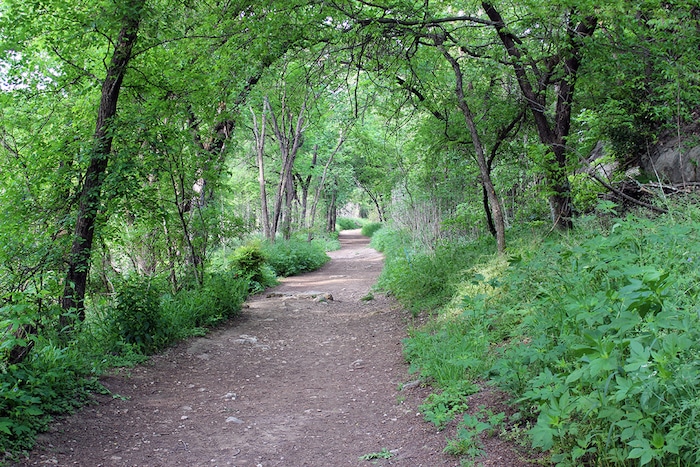 1.Violet Crown
After years of strategic land acquisition and planning, the first six-mile segment is now open and the VCT is on its way to becoming the longest trail of its kind in Central Texas. Once complete, the 30-mile trail will provide a unique recreational experience as it passes through the urban wildlands of the Barton Creek Wilderness Park, the City of Sunset Valley, and eventually into Hays County. Be sure to bring your own water and prepare for off-road bathroom situations as there are no water fountains or bathrooms on the trail.
2. Ann and Roy Butler Hike and Bike Trail at Lady Bird Lake
The go-to spot in Austin. The urban path meanders along the water’s edge and passes by skyscrapers, neighborhoods, ball fields, and cultural attractions. With the completion of the Boardwalk portion of the Trail in June 2014, the trail no offers a full 10-mile loop. The different street crossings at Lamar, 1st Street, and Congress make scenic and convenient crossovers for making this distance you are looking for. With more than 1.5 million visits a year, the 10-mile trail is Austin’s most recognized and popular recreational area.


 This is self-explanatory! Whether it’s a rest day or your longest ride ever, you have to do the work. You don’t need to set records every time, but you do need to be consistent. That’s how you’ll build your stamina and teach your body to ride further and further. If there’s a day where you just can’t squeeze in a ride or workout (because life happens), don’t stress. Don’t try to make it up the next day. Squeeze in a foam roll or stretch session if you can and keep moving forward with your plan! Make sure you practice these
  As you increase your bike mileage, you begin to get comfortable with being uncomfortable. Weekend rides begin to get longer and longer. As you hit new distances, it’s important to remain focused on form and technique. You want to remain as efficient as possible. Focusing on your form will allow you to generate power efficiently. This will also help with your body’s ability to consume oxygen.
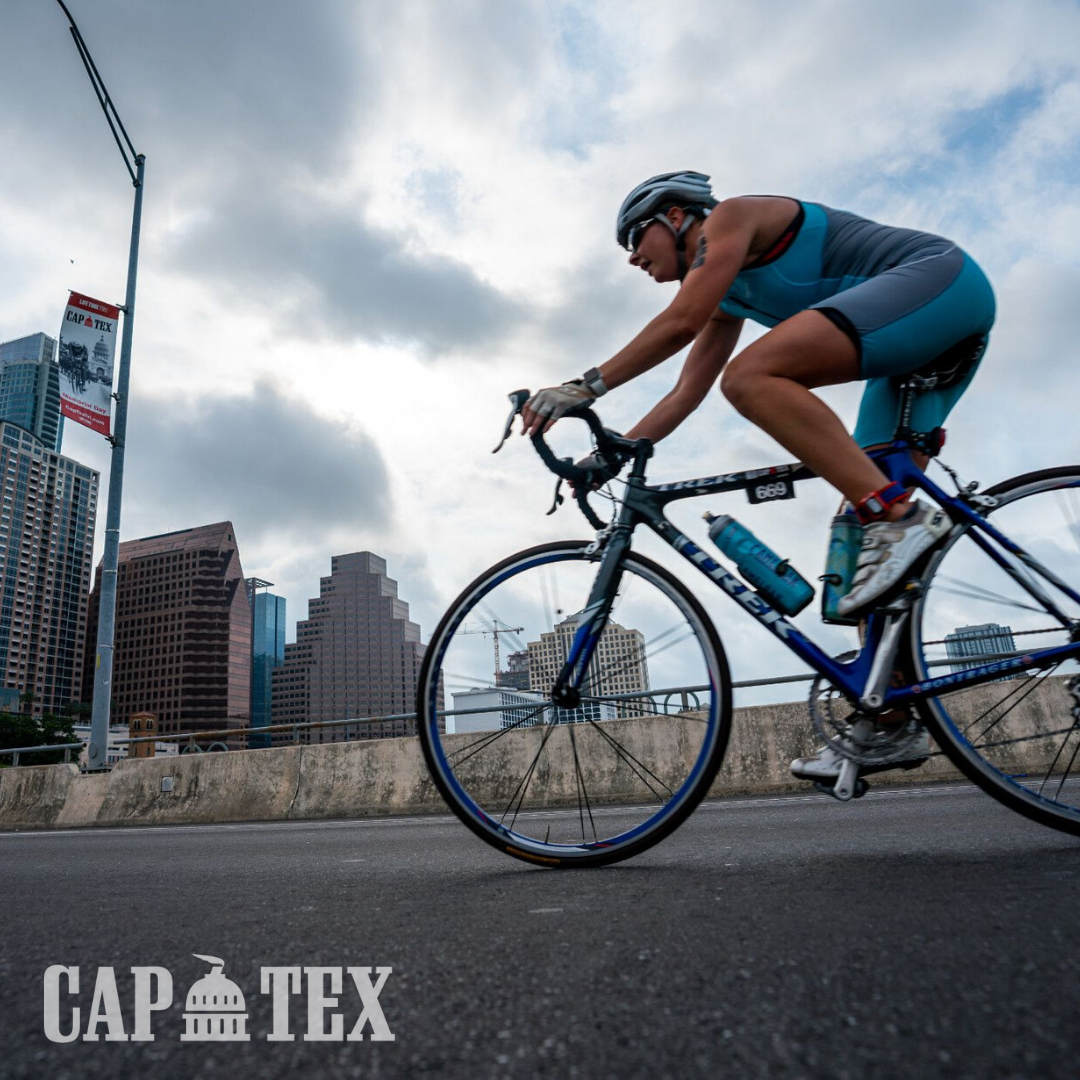 Before your long ride, make sure you have a plan. You should ride as consistently as possible to build your stamina. Planning your route reduces the chance you have to stop and check where you are or ask for directions. For longer rides, planning your route allows you to refuel at a
 Adding a warm-up and cool down into your fitness routine is a simple, yet proven way to maximize your benefits when working out. The warm-up gives your body a chance to prepare for your session while the cool-down then helps you focus on slowing your breathing and return to your normal heart rate. Rather than seeing it as an optional part of your workout, think of warming up and cooling down as part of your session to get the most out of all the hard work you’ve put in!